Hang String Lights Like a Pro: Industrial Patio Lighting Ideas Under $35
There's something undeniably magical about string lights strung across a patio at dusk. They transform an ordinary outdoor space into an intimate retreat—one where you actually want to spend time after sunset. But if you've ever tried to hang them yourself, you know it's not quite as simple as it looks on Instagram. The good news? With the right technique and a solid understanding of industrial-style fixtures, you can create a professionally lit outdoor space without the professional price tag.
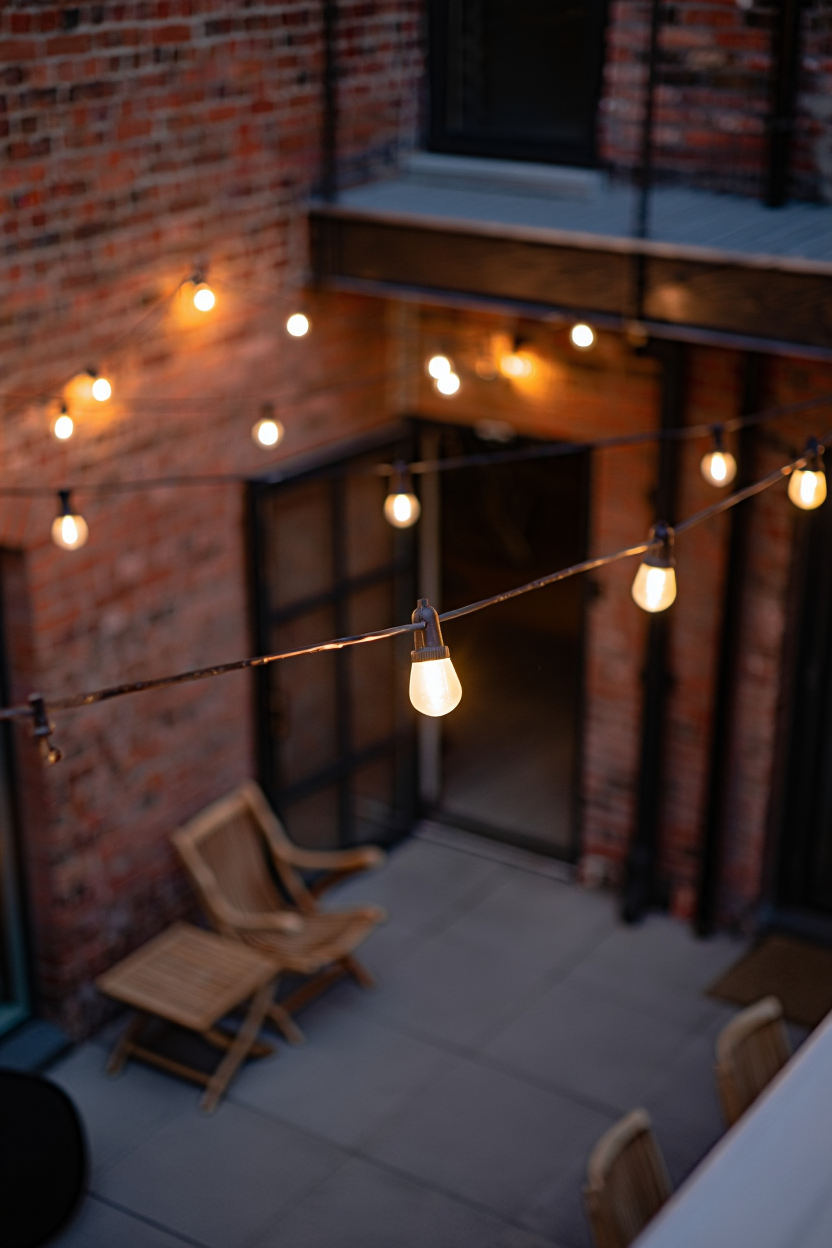
Industrial string lights—especially those featuring Edison bulbs—have become the go-to choice for homeowners who want that moody, urban aesthetic. They work beautifully on exposed brick, metal beams, and concrete patios, and the best part is you can build an entire setup for under $35 if you're strategic about it.
Understanding Industrial String Lights and Why They Work
Industrial string lights differ from typical patio lights in both form and function. They usually feature:
- Vintage Edison-style bulbs: These warm, amber-toned filament bulbs cast a nostalgic glow that flatters outdoor spaces and complements exposed materials.
- Heavier-duty wiring: Industrial lights are built to withstand weather and look intentional when strung across structural elements.
- Visible socket design: Unlike string lights that hide their mechanics, industrial fixtures celebrate the engineering with exposed sockets and sturdy connectors.
The aesthetic works because it mimics vintage warehouse and loft lighting—those raw, honest design elements that feel both timeless and contemporary. When you hang them thoughtfully, they don't just light your space; they define it.
Preparation: Planning Your Layout and Spacing
Measure Twice, Buy Once
Before you purchase anything, measure the distance between your anchor points. Are you stringing lights from one corner of your patio to another? Along the perimeter? From a post to the house? Knowing your exact footage helps you buy the right length and avoid overspending on excess wire.
Most budget-friendly string light sets come in 25-foot, 50-foot, or 100-foot lengths. If you're working with a small patio or balcony, a 25-footer is usually perfect and costs between $20–$35 depending on bulb quality.
Spacing and Sag Calculation
The key to professional-looking installation is the sag—that gentle curve the string takes between anchor points. Aim for a sag of about 4–6 inches per 10 feet of span. This looks intentional (not drooping) and puts the right tension on your fixtures without stressing the wiring.
If you're spanning 20 feet horizontally, plan for your midpoint to dip 8–12 inches below your anchor points. This creates that signature industrial swag that photographs beautifully and feels substantial rather than flimsy.
Choosing Your Anchor Points
On Exposed Brick and Concrete
If you're mounting to brick or concrete walls, you'll need heavy-duty anchors—think lag bolts or masonry anchors rated for at least 50 pounds. Drill pilot holes first, and don't skip this step. A failed anchor means your entire string comes down mid-dinner party.
Position your anchor points at least 8–10 feet high on the wall. This height keeps lights at eye level when you're seated and creates the most flattering angle for ambient lighting.
On Metal Beams and Posts
Metal is your friend here. U-bolts, cable clamps, or swag hooks designed for metal work beautifully and give you more flexibility in positioning. You can adjust them after installation without worrying about damaging your surface.
On Wood Structures and Pergolas
Eye bolts are the classic choice for wood. They're inexpensive, look industrial, and are easy to install. Drill a pilot hole first, then screw directly in. Make sure you're going into solid wood framing, not just surface boards.
Installation Techniques for a Polished Look
The Straight-Pull Method
For a modern, linear look—ideal for contemporary lofts or minimalist patios—string your lights in a straight line between two anchor points. Use a level to ensure the anchors are at the same height, then use a turnbuckle or come-along to tension the wire evenly. This creates clean, architectural lines.
The Graceful Swag Method
For a softer, more romantic feel, allow the string to swag gently. This is the most forgiving installation and actually looks better in most outdoor settings. Start by securing one end loosely, then walk the string to the opposite anchor. Have a helper support the middle while you adjust tension on both ends. Once it feels right, secure it fully.
Multi-Point Installations
If you're working with multiple strings (say, crisscrossing them for fuller coverage), install them symmetrically. Measure from your centerline outward, and keep spacing consistent—typically 4–6 feet apart. This prevents a haphazard look and ensures even light distribution across your patio.
Wattage and Bulb Selection
For outdoor spaces, you'll typically find string lights in 15-watt, 25-watt, or 40-watt options per bulb. Here's what matters:
- 15-watt: Intimate, mood lighting. Good for small patios or spaces where you want a whisper of ambient light.
- 25-watt: The sweet spot. Bright enough to read by, warm enough to feel cozy. Most budget sets use this.
- 40-watt: Full brightness. Use if you're lighting a large area or need functional task lighting alongside ambiance.
Stick with warm white (2700K color temperature) for that vintage Edison vibe. Cool white or daylight temperatures clash with industrial aesthetics and feel harsh outdoors.
Recommended Budget-Friendly Option
If you're shopping for your first set, look for industrial string lights with genuine Edison-style bulbs in a 25-foot length. A quality set with warm white, 25-watt bulbs, weatherproof sockets, and an outdoor-rated plug typically costs $28–$35. Brands like Brightech and Newhouse Lighting offer excellent options in this price range. The investment in quality wiring upfront saves you from replacing your entire setup next season when cheaper options fail.
Final Touches and Maintenance
Once your lights are hung, step back and assess. Do the anchor points look intentional? Is the spacing even? Are there dead bulbs creating dark spots? Replace any burned-out bulbs immediately—gaps in the line break the visual flow.
For maintenance, use a soft cloth to gently dust bulbs and sockets seasonally. If you're in a wet climate, consider adding a weatherproof outdoor timer so you can automate your lights and protect the system from weather exposure when not in use.
Conclusion
Installing industrial string lights is less about special skills and more about understanding basic physics, planning thoughtfully, and choosing fixtures that match your space. With the techniques above, you'll hang lights that look installed by a pro—but cost a fraction of professional pricing. Your patio is about to become everyone's favorite place to gather.